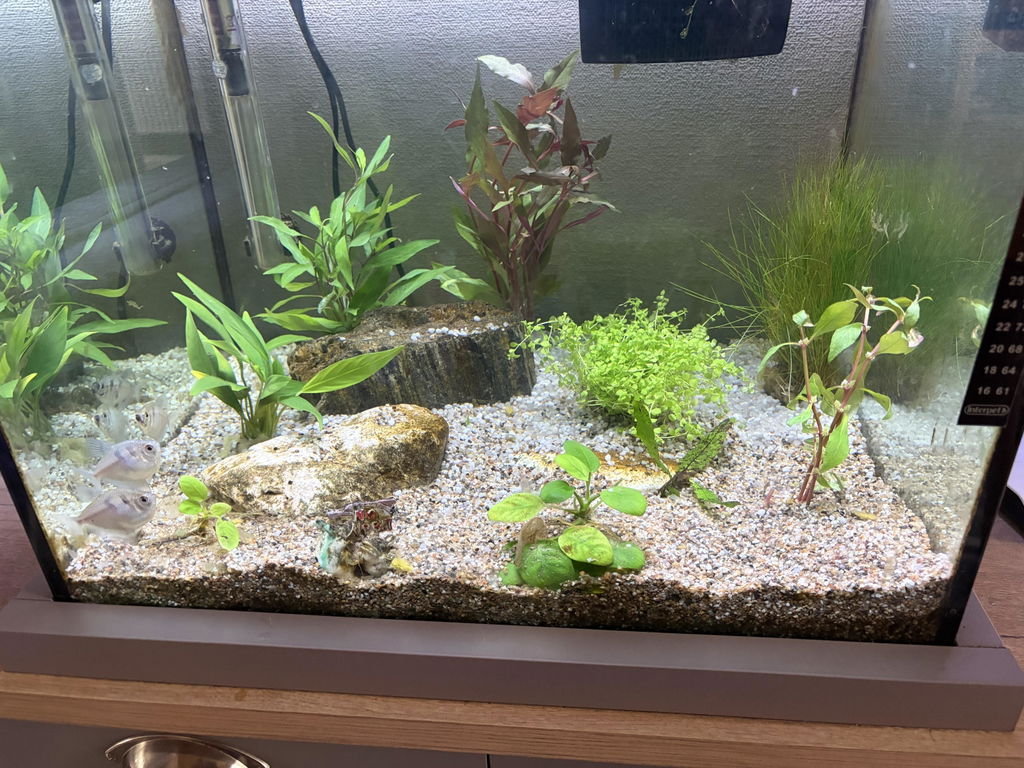


Java fern (Microsorum pteropus) should not be planted like a rooted aquarium plant. Its horizontal rhizome must remain above the substrate, where water can circulate around it. The safest method is to attach the plant to aquarium wood or rock with a small amount of aquarium-safe gel glue or thread. Once settled, its roots gradually grip the surface.
The short answer
Keep the rhizome exposed. Burying the roots is optional, but burying the thick green rhizome can cause it to rot.

Start with a healthy Java fern
Our established potted Java fern is ready to remove from its pot and attach to your chosen hardscape.
Shop Java Fern →How to plant Java fern in five steps
- Remove the pot and rockwool. Gently tease the roots away from the rockwool and rinse off any remaining fibres. Avoid pulling on the leaves.
- Find the rhizome. This is the firm horizontal stem from which the leaves and roots grow. Do not mistake the fine dark roots for the rhizome.
- Choose a position. Place Java fern on wood or rock where the leaves have room to grow and are not pressed against the glass.
- Secure the plant. Use a small amount of aquarium-safe cyanoacrylate gel, cotton thread or fishing line. A natural crevice can also hold the roots while they attach.
- Leave the rhizome uncovered. Check that the thick rhizome remains exposed before returning the hardscape to the aquarium.

Three safe ways to attach Java fern
1. Aquarium plant glue
Aquarium-safe cyanoacrylate gel is the quickest method. Dry a small area of the wood or rock, apply a very small dab of gel, then press a healthy section of the rhizome or root mass against it for around 20 seconds. Avoid the leaves, the growing tip and large areas of the rhizome. The glue may initially cure white, so use it sparingly and position it discreetly.
Aquarium Plant Glue
A gel formula is easier to control on uneven wood and rock than a runny liquid adhesive.
Get Plant Glue →2. Cotton thread or fishing line
Wrap the thread around the hardscape and root area just tightly enough to hold the plant in place. Do not crush the rhizome. Cotton thread will gradually soften, while fishing line should be removed carefully once the roots have secured themselves.
3. A natural crevice
For rockwork or branching wood, the roots can be tucked into a secure gap without glue. The plant must not be pinched tightly and the rhizome should remain visible. This method works best where water movement will not dislodge the plant.
Can Java fern be planted in gravel or substrate?
Java fern can be positioned with its fine roots in gravel or substrate, but the rhizome must stay completely above the surface. Attaching it to wood or rock is usually more reliable because it removes the risk of accidentally covering the rhizome during planting or maintenance.
If you want the plant to appear as though it is growing from the substrate, attach it to a small stone and place the stone at substrate level. The stone can be partly concealed while the rhizome remains safely exposed.
Java fern care requirements
| Growth form | Rhizomatous fern |
|---|---|
| Best position | Attached to wood or rock, usually in the midground or background |
| Light | Low to medium |
| CO₂ | Not required |
| Growth rate | Slow |
| Typical height | Approximately 15–30 cm for the standard form, with size varying by variety and conditions |
| Feeding | A balanced liquid fertiliser can support healthy new growth |
Java fern grows slowly, so it does not need intense lighting. Strong light can encourage algae to settle on its older leaves, particularly when plant growth, nutrients and aquarium maintenance are out of balance.

Why is my Java fern turning brown or developing black spots?
Regular black spots beneath the leaves
Small, organised dark spots on the undersides of mature leaves can be sporangia, the fern's reproductive structures. These are normal and should not be treated as algae or disease.
Plantlets growing from older leaves
Young Java fern plantlets may form on mature leaves. They can initially look like dark bumps before producing tiny leaves and roots. Leave them attached until they have developed several leaves and visible roots, then gently separate and attach them elsewhere.
Brown, transparent or damaged leaves
Older leaves do not recover once badly damaged. Remove leaves that are soft, heavily deteriorated or covered in persistent algae, but keep a firm, healthy rhizome. Check that the rhizome is not buried and assess the aquarium's light, circulation and nutrient routine before making several changes at once.
Small holes in the leaves
Holes can have several causes, including physical damage, aging leaves or an unbalanced nutrient supply. Judge any improvement by the condition of new leaves rather than expecting damaged tissue to repair itself.
A soft or dark rhizome
A healthy rhizome should feel firm. Soft, dark or decomposing sections indicate rot. Remove the damaged portion with clean scissors and reattach the remaining healthy section above the substrate.
How to propagate Java fern
There are two straightforward methods:
- Divide the rhizome: cut a healthy rhizome into sections, ensuring each piece has several leaves and roots, then attach each section separately.
- Separate plantlets: wait until plantlets on older leaves have their own leaves and roots, then gently detach and secure them to wood or rock.
Java fern is slow-growing, so newly divided pieces may take time to produce noticeable new leaves.
Java fern varieties to consider
The standard form produces broad, wavy green leaves. Other varieties provide different shapes without changing the fundamental planting method:
- Classic Java Fern: the familiar broad-leaved form supplied as an established potted plant.
- Java Fern Narrow: slimmer leaves for smaller layouts or a more delicate appearance.
- Java Fern Windeløv: finely branched leaf tips with a lace-like appearance.
- Java Fern Trident on Wood: a forked-leaf form supplied already attached to hardscape.
- Java Fern on Wood: a ready-attached option that can be placed directly into the aquarium.
Common Java fern planting mistakes
- Burying the rhizome beneath gravel, sand or aquasoil.
- Using too much glue or covering the growing tip.
- Securing the plant so tightly that the rhizome is damaged.
- Placing slow-growing leaves directly under excessive light.
- Discarding healthy plantlets because they are mistaken for disease.
- Changing lighting, fertiliser and water conditions simultaneously when troubleshooting.
Java fern frequently asked questions
Does Java fern need to be planted?
No. It is best attached to wood or rock. The plant can also be positioned with its roots in substrate as long as the rhizome remains above it.
Does Java fern need CO₂?
No. Java fern can grow without injected CO₂ and is suitable for low-tech planted aquariums.
How long does Java fern take to attach?
It normally takes several weeks for new roots to grip the hardscape. The timing varies with the plant and aquarium conditions, so keep thread or another support in place until the plant feels secure.
Can Java fern grow in low light?
Yes. Low to medium light is normally sufficient. Its slow growth also means excessive light can make algae on older leaves more noticeable.
Are black spots on Java fern a disease?
Not always. Regular dark spots beneath mature leaves are often normal reproductive structures. Irregular spreading damage, soft tissue or a deteriorating rhizome should be assessed separately.
Can Java fern be kept with shrimp and community fish?
Yes. Its leaves and roots create additional surfaces and cover within the aquarium. The plant itself does not require a specialist fish or shrimp setup.
Ready to add Java fern?
Choose an established potted plant, a tissue-culture variety or a ready-attached Java fern on natural hardscape.
Shop Java Fern → Browse Epiphytes →Need help choosing the right form for your aquarium? Contact Aqua Essentials and tell us your tank size, lighting and preferred layout.